
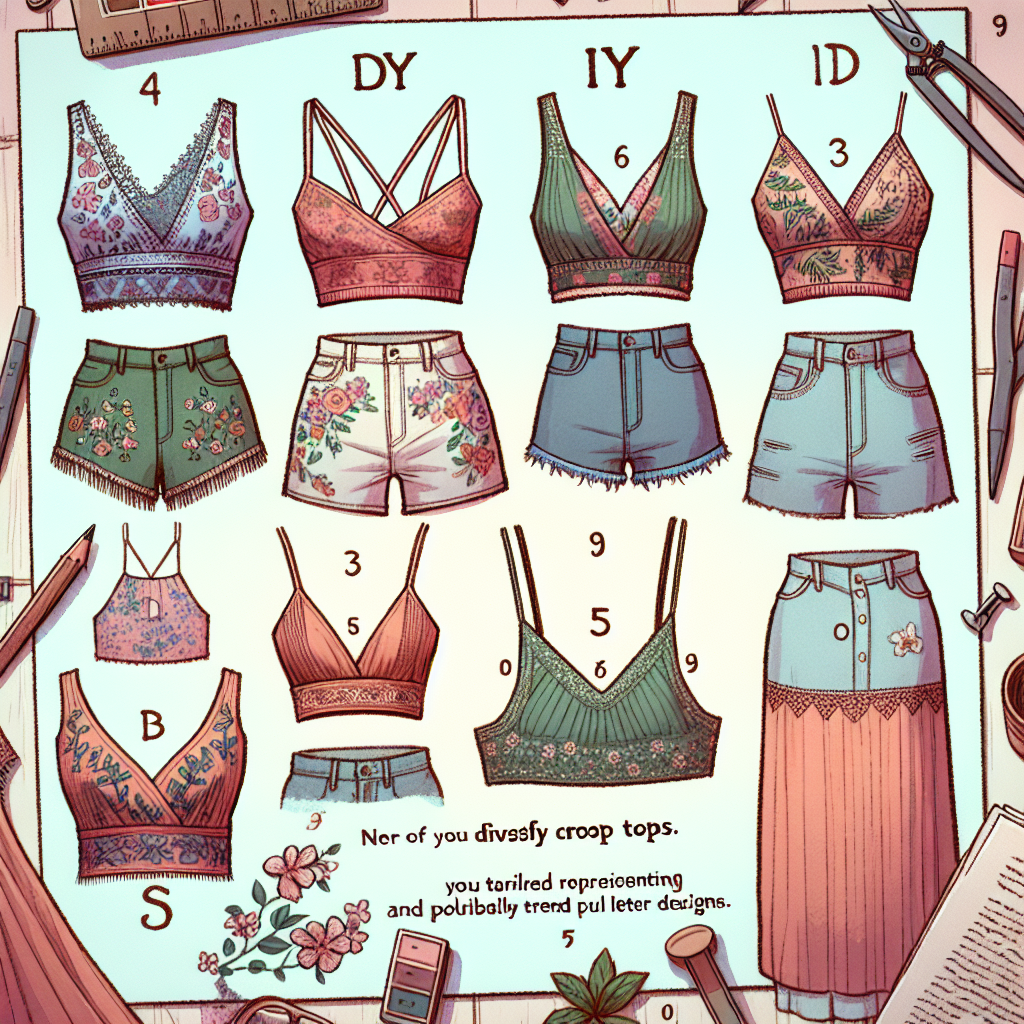
Understanding Crop Tops
Crop tops are versatile garments that can elevate any wardrobe—perfect for casual outings, layered looks, or even paired with high-waisted skirts for a chic vibe. DIY flirty crop tops allow you to express your personal style while saving money. They’re also a fantastic way to refresh old shirts or fabrics lying around the house.
Materials Needed
- T-shirts or fabric: Choose materials like cotton, jersey, or rayon for comfort.
- Scissors: Sharp fabric scissors are essential for clean cuts.
- Sewing machine or needle and thread: For creating hems or adding embellishments.
- Measuring tape: For precision in cutting and sizing.
- Chalk or fabric marker: To mark cutting lines.
- Embellishments: Lace, sequins, or patches for customization.
- Iron: For a crisp finish.
Step-by-Step Guide to Creating a Crop Top
Step 1: Select Your Base
Choose a shirt or fabric that you want to transform. Vintage tees and oversized shirts are fantastic choices. Consider the material; stretchy fabrics will offer more comfort.
Step 2: Measure and Mark
Decide how cropped you want your top to be. A general guideline is cutting between the waist and the mid-torso area. Use your measuring tape and chalk to mark your desired length. Ensure the lines are straight for a professional finish.
Step 3: Cut with Precision
With the marked lines in place, use sharp scissors to carefully cut along your chalk marks. Ensure you are cutting evenly to avoid an awkward shape. If using a sewing machine, leave a 1 to 2-inch allowance for hemming.
Step 4: Hem the Edges
To prevent fraying, hem the edges of your new crop top. Fold the raw edges inwards, pinning as you go. Use a sewing machine or hand stitch to secure them in place. A zigzag stitch works best for stretchy materials.
Customization Techniques
Tie-Front Style
A trendy option is to create a tie-front look. After cutting your crop top, reserve the bottom strip (about 4 to 6 inches wide) for tying. Gather the two sides and tie them into a knot for a playful touch.
Adding Lace or Ruffles
For a delicate flirty touch, sew lace trims along the hemline or sleeves. Alternatively, create ruffles from excess fabric or lace, gathering it at strategic points for more volume and texture.
Graphic Prints and Patches
Turn an ordinary tee into a statement piece by adding patches or favorite graphics. These can be stitched or ironed on, depending on the fabric. Choose designs that resonate with your personality, like florals or quirky sayings.
Styling Your Crop Top
Once you’ve crafted your own flirty crop top, it’s time to incorporate it into your wardrobe.
Pairing with High-Waisted Bottoms
Crop tops look stunning with high-waisted jeans, shorts, or skirts. This silhouette smartly balances proportions while keeping it stylish and flirty.
Layering with Jackets
For cooler days, throw on a denim or leather jacket over your crop top. This layering technique adds depth to your outfit while still keeping the fun aspect of your top on display.
Accessorizing Smartly
Keep accessories minimal when wearing a bold crop top. A pair of hoop earrings, a stack of delicate bracelets, or layered necklaces can complement without overwhelming your look. Footwear should be chic—opt for heeled sandals or ankle boots.
Care Instructions
To maintain the integrity of your DIY crop tops, washing them gently is essential. Hand wash in cold water or use a delicate cycle in your washing machine. Avoid harsh detergents that can fade colors or ruin embellishments. Lay flat to dry to prevent stretching.
Final Thoughts
Creating your own flirty crop tops is not only fun but allows you to tailor your style according to your preferences. Embrace your creativity by experimenting with different designs and customization techniques. The result is a unique piece that stands out in any setting while expressing your individuality. Happy crafting!

